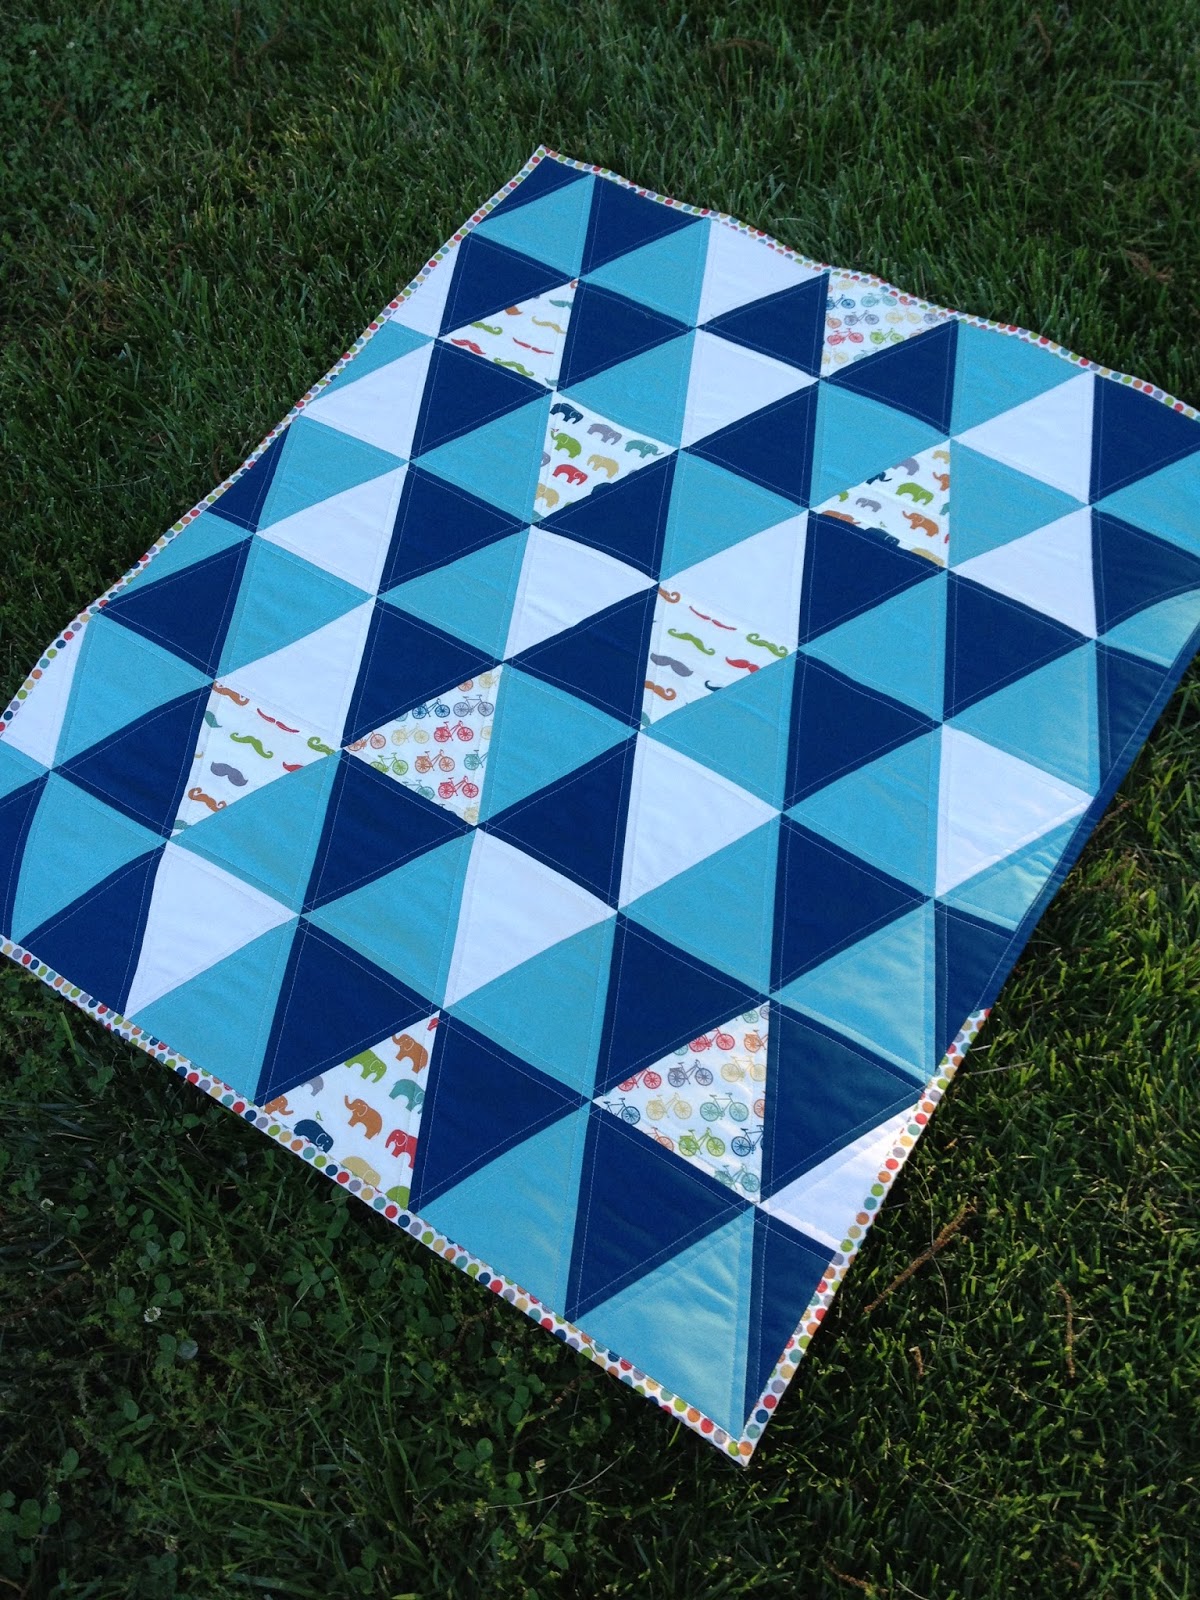
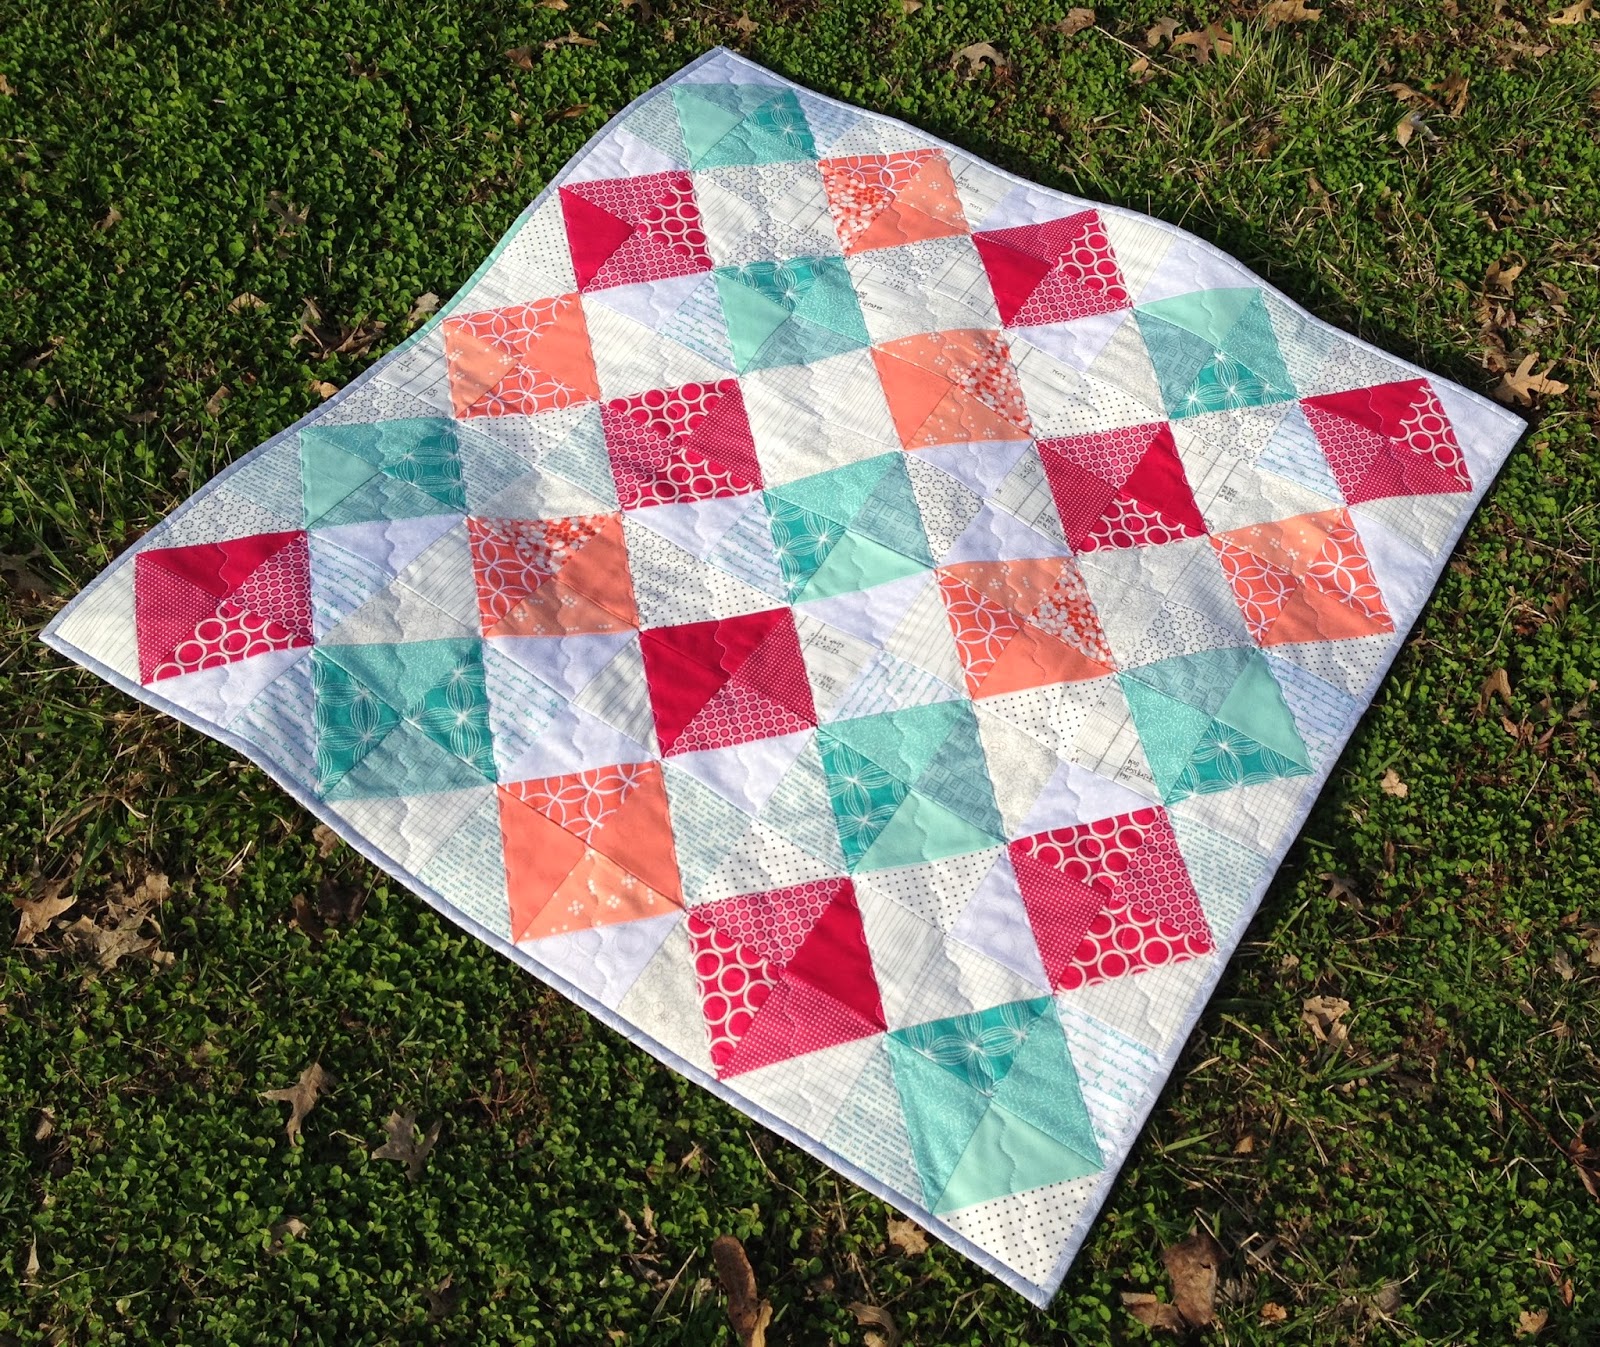
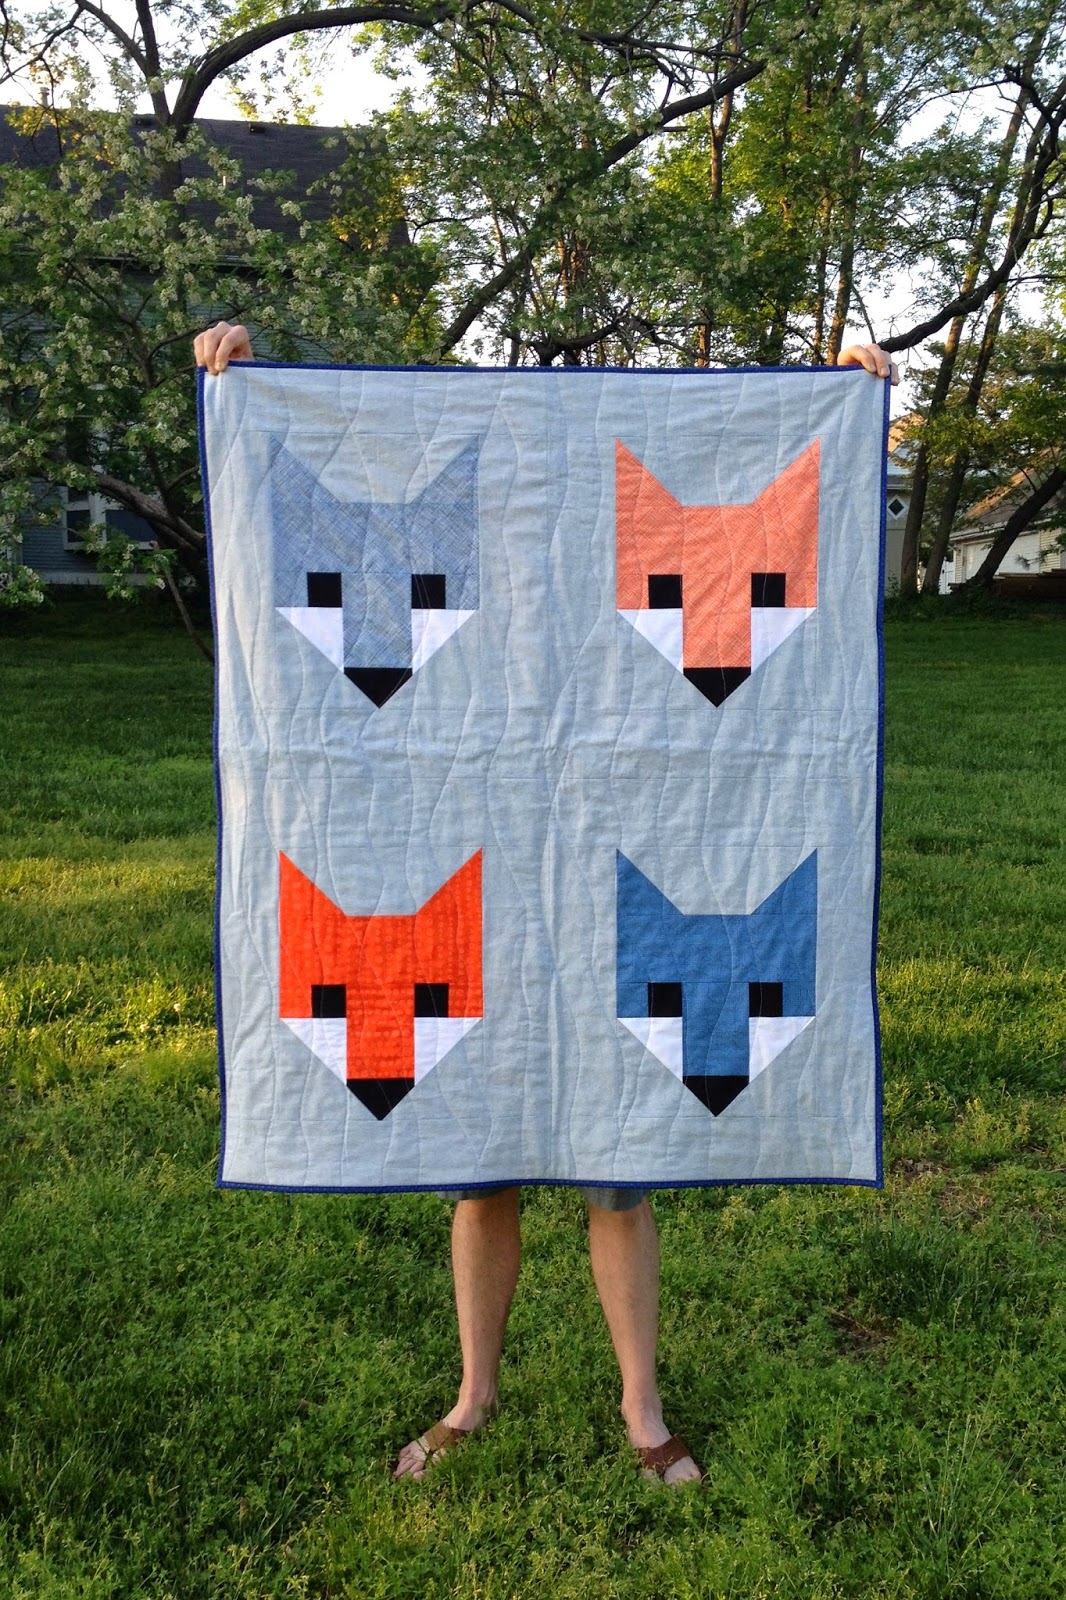
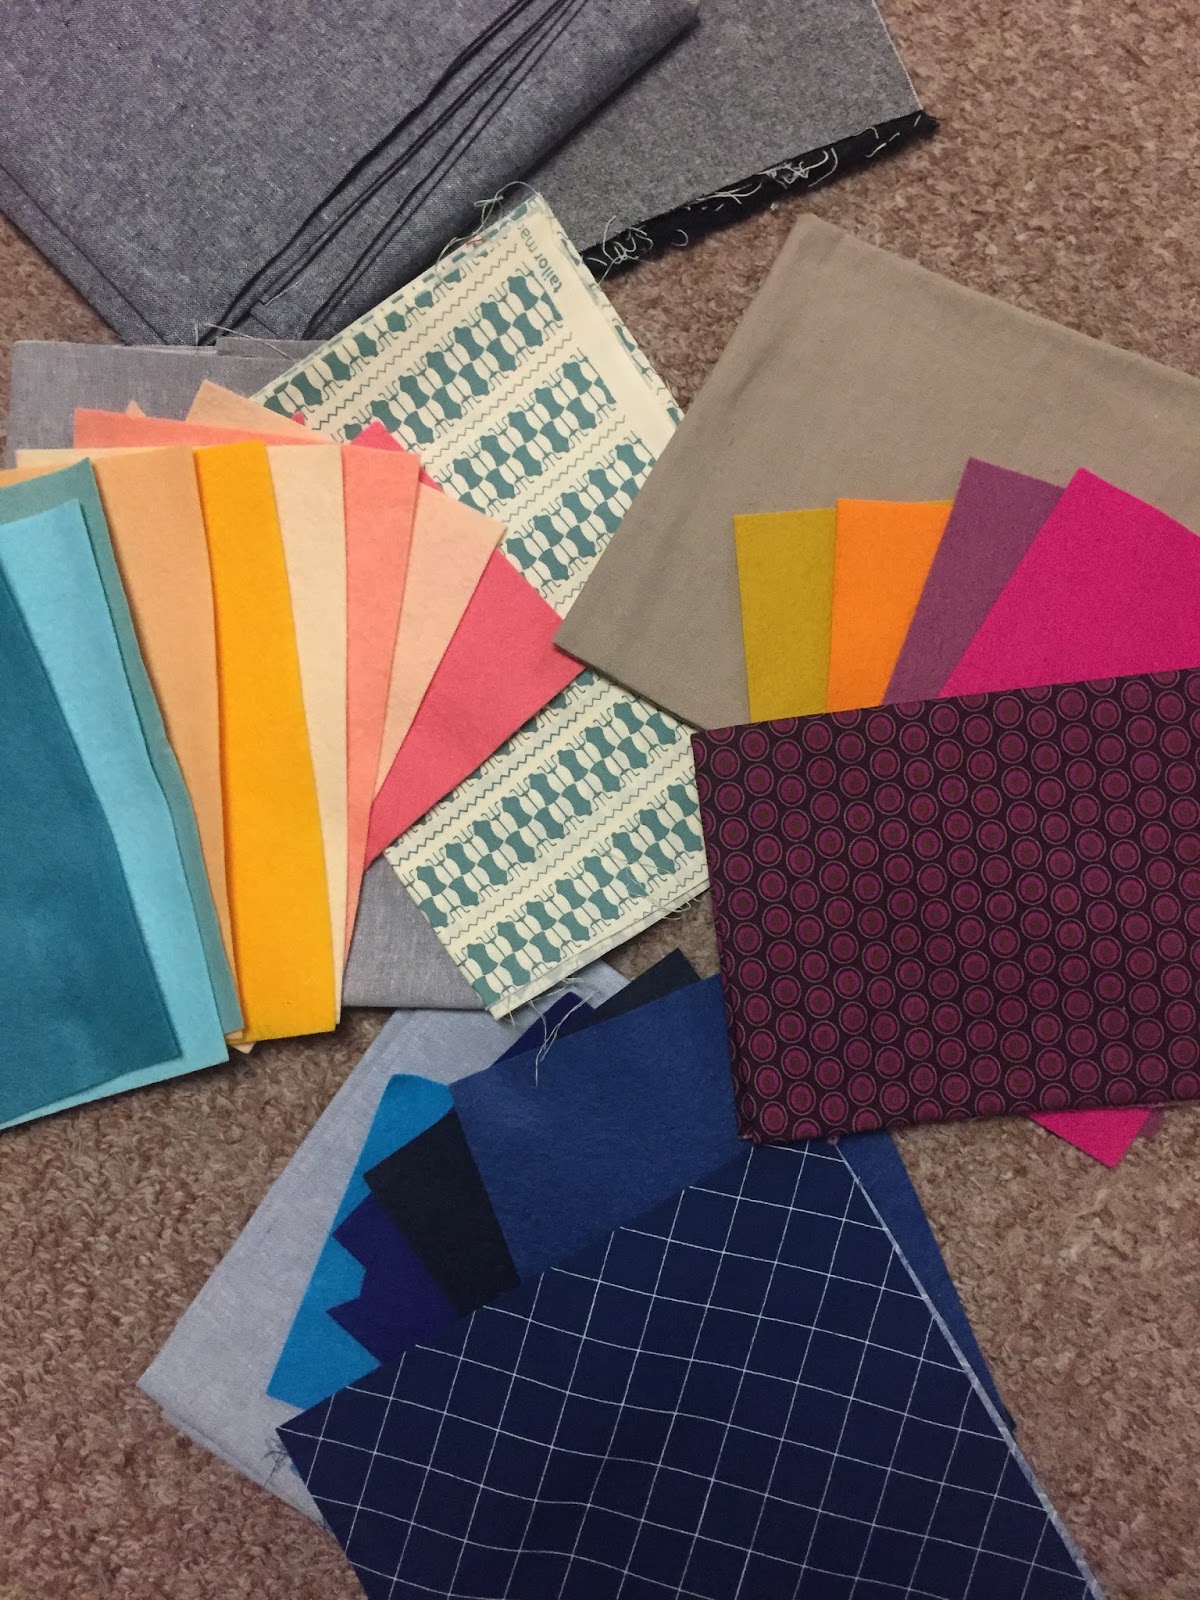
Yesterday, I posted about my most popular IG and blog posts from 2015, but today, I'm focusing on my favorite projects for the year. 2015 was the year I waded into more clothing sewing (and I'm really hoping to expand on this in 2016); tried (and found out I love) hand sewing, including applique and hexies; joined my first quilting bee (do.Good Stitches); started working at my local modern fabric store; and had my first quilt accepted into a quilt show (Fading Star)! I finished 14 quilts and a ton of pouches, bags, and other accessories. Here are some of my favorite projects and memories:
Fading Star quilt (heading to QuiltCon 2016!)
Austin House mini quilt
Hexies!!
Learning needle-turn applique straight from the queen of applique, Carolyn Friedlander
Getting to take not one, but two workshops with my quilting hero, Elizabeth Hartman, and started working on my Patchwork City sampler quilt
Rhoda Ruth mini quilt
Birch Triangle baby quilt
It's always fun to look back, but I'm also really excited about everything 2016 has in store. I've got a lot of projects in the works and can't wait to start busting them out.
I'm back! I hope you all had a lovely Christmas and New Year's! Ours was filled with lots of travel, family, friends, and food, and I'm sure I'll have some posts about it soon, but for now, let's get to some pretties. As I'm sure you all know, a fun hashtag called #2015bestnine has been floating around IG for the last week or two. It tracks your top nine IG posts for 2015 based on the number of likes. Here's how mine turned out:
I thought it was kind of funny that my Cotton + Steel mini quilt swap made it into three of the top posts, but my Fading Star quilt was definitely on top.
Meanwhile, things stacked up differently here on the blog. Here are the seven most popular posts from last year (according to Blogger's stats and excluding my WIP Wednesday posts, some of which were among my most popular posts ever):
7. Sorbet baby quilt
6. Austin House mini quilt
5. QuiltCon recap
4. Into the Woods baby quilt
3. Fancy Fox quilt
2. September do.Good Stitches blocks
1. Love Plus baby quilt
I was really surprised by some of these and definitely think some of the WIP Wednesday posts probably threw off the stats a bit (many people who check out projects in the WIP posts don't click through to the original post). You never know what's going to catch someone's eye, I suppose. Next up, I'll post a recap with my favorite projects for the year. Happy 2016!
Hello all! This week, I'm all about busting out the Christmas sewing. I managed to finish one Mammoth Flannel infinity scarf for myself, and I've got two more planned for my sisters.
I also finished making my Tucker Prairie hexies and couldn't resist laying them out. Now, I've just got to decide how I want to put them together and whether to make them into a mini or something else. I'm also on the hunt for my next hexie project to take with me on our holiday travels. These are so addictive!
Finally, most of my time has been spent making some fabric buckets for gifts. The buckets themselves are really easy to assemble and go together quickly (I'm using this tutorial), but I forgot just how long this quilting takes. I'm hoping to finish them up tonight. Wish me luck!
Bucket assembly line
Oh, and in case you're looking for a cute way to wrap up all those gift cards you're giving for the holidays, I posted a quick tutorial yesterday for these fun gift card cozies. Enjoy!
The neverending to do list:
It's that time of the year when so many of us are buying gift cards for teachers, loved ones, nannies, etc. This year, I wanted to spruce mine up a bit with a little homemade gift card cozy.
I started with this tutorial from Make It, Love It, but I didn't like the way the cozies were assembled (it was hard for them not to get a little wonky in the final stages), so I switched mine up and thought you guys might enjoy a little tutorial. These are easy to knock out assembly-line style, and I finished seven in just a few hours one night. Enjoy!
Supplies:
* 2 pieces of backing fabric: 3.25" x 4.75"
* 2 pieces of midweight fusible interfacing: 2.75" x 4.25"
* 2 pieces of front fabric: 3.25" x 3.75"
* coordinating thread
* sewing machine and basic sewing supplies
Note: I chose to use one piece of each of my fabric styles for the front and back of the cozies, but you could use the same fabric for all four pieces or one fabric for the front and one fabric for the back, whatever suits your fancy. The front pieces are a great opportunity for some fun fussy cutting.
Instructions:
1. Center your interfacing on each of your backing pieces and fuse it on according to the package instructions. Set aside.
2. Place the two pieces of front fabric right sides together and stitch across the top edge using a 1/4" seam allowance. (This is one of the sides measuring 3.25". The "top" is only relevant if you're using a directional fabric.)
3. Press, then turn the fabrics wrong sides together and press again to create a crease along the top edge.
4. Topstitch along the top edge about an 1/8" from the edge.
5. Sandwich your pieces in this order (from bottom to top): the piece of backing fabric that you want to see from the front of the cozy (the green fabric in this case) right side up, the stitched together front pieces right side up, and then the backing fabric that will be on the back of the cozy (the large piece of candy cane fabric in this case) wrong side up.
6. Stitch
around the outside using a 1/4" seam allowance and leaving a 2" opening
at the top for turning.
7. Clip your corners, then turn the cozy right side out. Tuck in the seam allowance at your top opening and give the entire cozy a good press.
8. Topstitch around the entire cozy using an 1/8" seam allowance, thus closing the opening at the top.
9. Insert your gift card and give to someone special!
Yes, I realize Thanksgiving was several weeks ago, but since last year, I didn't manage to finish my Thanksgiving post until January, I feel like I'm doing pretty good here. As has become our routine, we spent Thanksgiving in California with Matt's parents. We flew into San Francisco early in the day, so we insisted on playing in the city for a bit before heading on to their house.
B enjoyed his first San Francisco trolley ride, as well as a stroll through Union Square, up and down several blocks of hills, and a brief stop at Fishermans' Wharf.
After our city adventure, we spent a calm week at the house, with lots of reading, trips to the park and nature museum, and of course, cooking.
Matt and I always do the holiday cooking, and we took on a lot this year. We started the day with homemade cinnamon rolls (because obviously the day needed more carbs), and dinner consisted of turkey, dinner rolls, green beans, my favorite sweet potato casserole, mashed potatoes, cranberry sauce, and stuffing.
After taking a break to visit and let our stomachs make room, we finished off the night with pecan and pumpkin mousse pies.
Unfortunately, we left the next day, so we didn't get to partake in the leftovers (boo), but it was probably better for our waistlines. It was so sweet to see how much fun B had with his Grammy and Grandpa, and we're looking forward to seeing the other grandparents for Christmas very soon!


 Attending QuiltCon 2015