
In my build-up to Christmas, I mentioned I was planning a tutorial for one of the gifts I was making, and now is the time to deliver. I made these wine bags for some friends of mine and loved the way they turned out:
I had a lot of trouble finding a tutorial online for these that I really liked, so I thought I'd make one myself. I took bits and pieces from several online tutorials (I am most indebted to Dana's hobo sack tutorial over on MADE (it's how I figured out how to do the drawstring at the top) and the wine bag tutorial from Gator Gracie) and ideas from a wine bag I already owned, from which I took the measurements and the idea to move the ribbon casing a few inches down instead of having it along the top seam, as most of the tutorials I found do, and as I did for my drawstring gifts bags. Since this is my first tutorial, I'm sure I missed some things along the way — I'd really appreciate any comments with suggestions or feedback.
Want to make one of your own? Then, let's get to it.
What you'll need:
Linen (cut 4): 5.5” x 7”
- Fabric for the middle part of the outside bag (I suggest quilter's cotton.) (cut 2): 5.5” x 7”
- Letter (cut 1 from lining fabric): I used the alphabet letters found here and blew them up 200% on my copier. Feel free to use whatever fonts/sizes you want.
- Lining fabric (cut 2): 14.5” x 7”
- Ribbon (cut 2): 1/2” x 22” (Be sure to pick a sturdy fabric ribbon, as this is how'll you'll carry the wine.)
- Matching thread (I used a light one so it would blend into the linen when I made the casing, but you could use a coordinating color if you wanted it to stand out. Sorry the light color doesn't show up very well in some of the photos.)
- Pressing cloth and fusible webbing for applique.
- All seam allowances are 1/2”.
First let's make the lining. Place the lining pieces right sides together. Pin.
Stitch around the sides and bottom, leaving the top open. Important — also leave a 3-4” gap open in the bottom (you'll need this for turning later — you can see in the picture below that I forgot to do this on this bag and had to pull out the ol' seam ripper later). Be sure to backstitch at the beginning and end of each stitch. Remember, all seam allowances are 1/2”.
Trim the edges, clip the corners, and press.
Now on to the outside of the bag. Place one piece of linen on top of the middle fabric piece, right sides facing. Pin.
Stitch across the top.
Place the middle piece right side up and open the linen you just sewed down (the piece on the right in the picture above). Place the second piece of linen on top of the middle fabric piece, right sides together. Stitch along the new "top" (the left side in the picture above).
Place the piece right side down and press both of your seams open. This will ensure they lay flat and make for easier sewing later on.
Flat seams!
Flip piece over and press again. We want it to be really nice and flat. Repeat this process with the other side of the outer bag.
Ok, now for our letter. I'm going to do the most basic of run-throughs on machine applique. If this isn't enough or if this is your first time doing a machine applique, I recommend you check out this tutorial over on Sew, Mama, Sew! or this one on Little Birdie Secrets (less detailed, but still very helpful). Pictured above, I've already applied the fusible webbing to the back of my letter fabric and cut out the fabric letter with the fusible webbing on the back.
Remove the paper backing from the fusible webbing. (Don't forget this! For some reason, I have trouble remembering to do this, and I've ruined more than a few letters this way.) Position the letter where you want it on top of the middle fabric and cover with a damp pressing cloth. (I just use a scrap piece of natural white cotton fabric.)
Press for 10 seconds with an iron on the wool setting, then gently remove the pressing cloth.
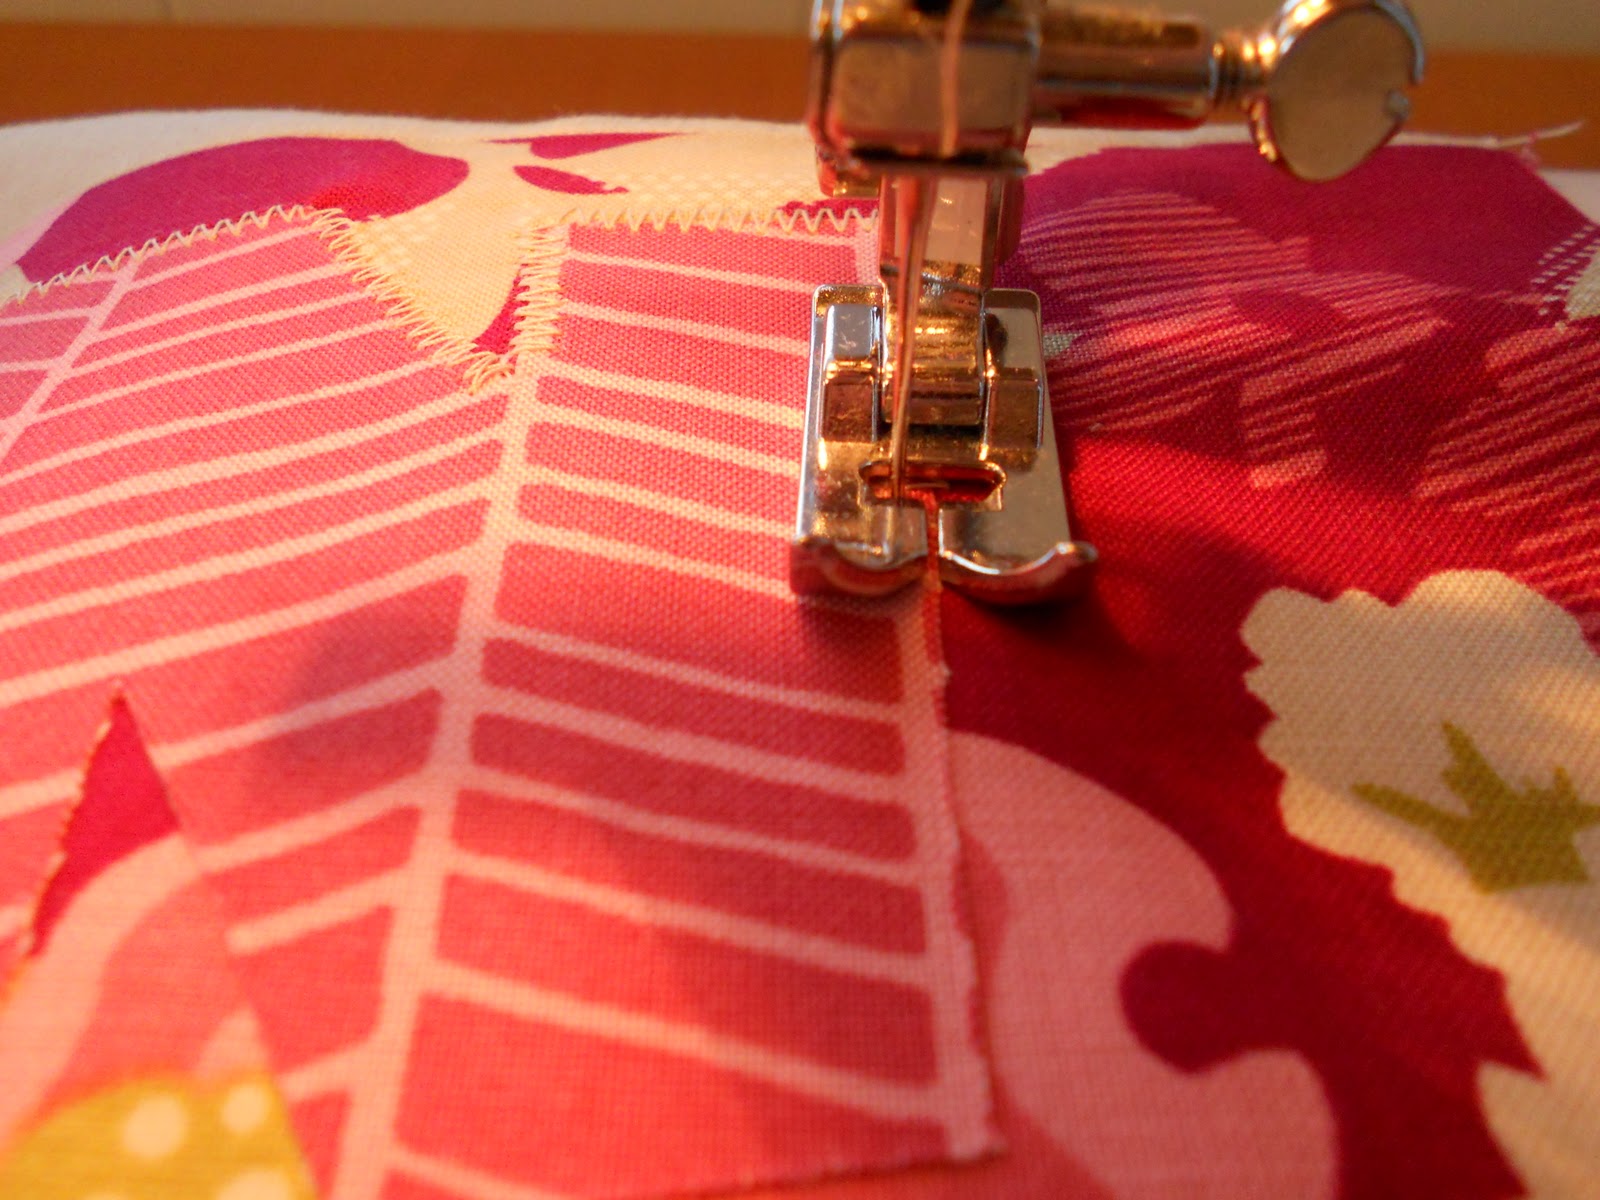
The SMS tutorial linked above tells you to use a satin or buttonhole stitch. I used a zigzag stitch instead, like the LBS tutorial suggests. Any of these are good options. Set your machine to your chosen stitch and adjust your stitch length and width accordingly. I used 1 for my length and 4 for my width. I suggest testing your stitch on a scrap piece of fabric first to make sure it's what you want.
Beginning with your needle on the inside of the fabric (on top of the letter, not the middle panel fabric), slowly stitch around the letter.
Follow the SMS tutorial's instructions for going around curves. She has a great explanation and pictures. Be sure to backstitch just a little when you get back to the beginning. Press your stitches when you're done.
Now let's put the outside bag together. Place the two outside bag pieces right sides together. Pin around the sides and bottom. (Make sure you choose which end to make the bottom depending on the orientation of your letter — you don't want it to be upside down when you're done.)
Measure down 1.5” from the top side (the left side in the picture above) and pin. This is where the top line of your casing will be later. Measure down another inch from that pin and pin again. This will be the bottom line of your casing. Repeat on the other side.
Here's a close-up of the pins. Sorry I didn't get a picture of this step, but sew along the sides and bottom of the outside bag using the same 1/2” seam allowance. DO NOT sew between your double pins. Be sure to backstitch at the beginning and end of your stitches. So, starting at the top, you'll sew 1.5”, stop, and restart on the other side of your double pins, continuing around the bag until you get to the other set of double pins, where you'll stop again, skip over the pins, and sew your final 1.5” to the top.
Press, trim, and clip your corners. Be sure not to trim the fabric between your double pins! You'll need this to tuck in and cover your ribbon holes later.
Turn the outside bag and press again. Then, insert the outside bag into the lining, right sides facing. Your outside bag will be right side out, and your lining will be wrong side out.
Pin well, lining up the side seams to ensure a polished and straight final product. Stitch around the top with the same 1/2” seam allowance.
Press. Pull the outside bag through the hole in the bottom of the lining to flip them both right sides out.
Topstitch or blind stitch the hole in the lining closed. Press. Stuff the lining into the outside bag and press again.
Now for the casing. Find the holes you left in the sides of the bag. If necessary, push the extra fabric into the hole and press to ensure a smooth edge on the side.
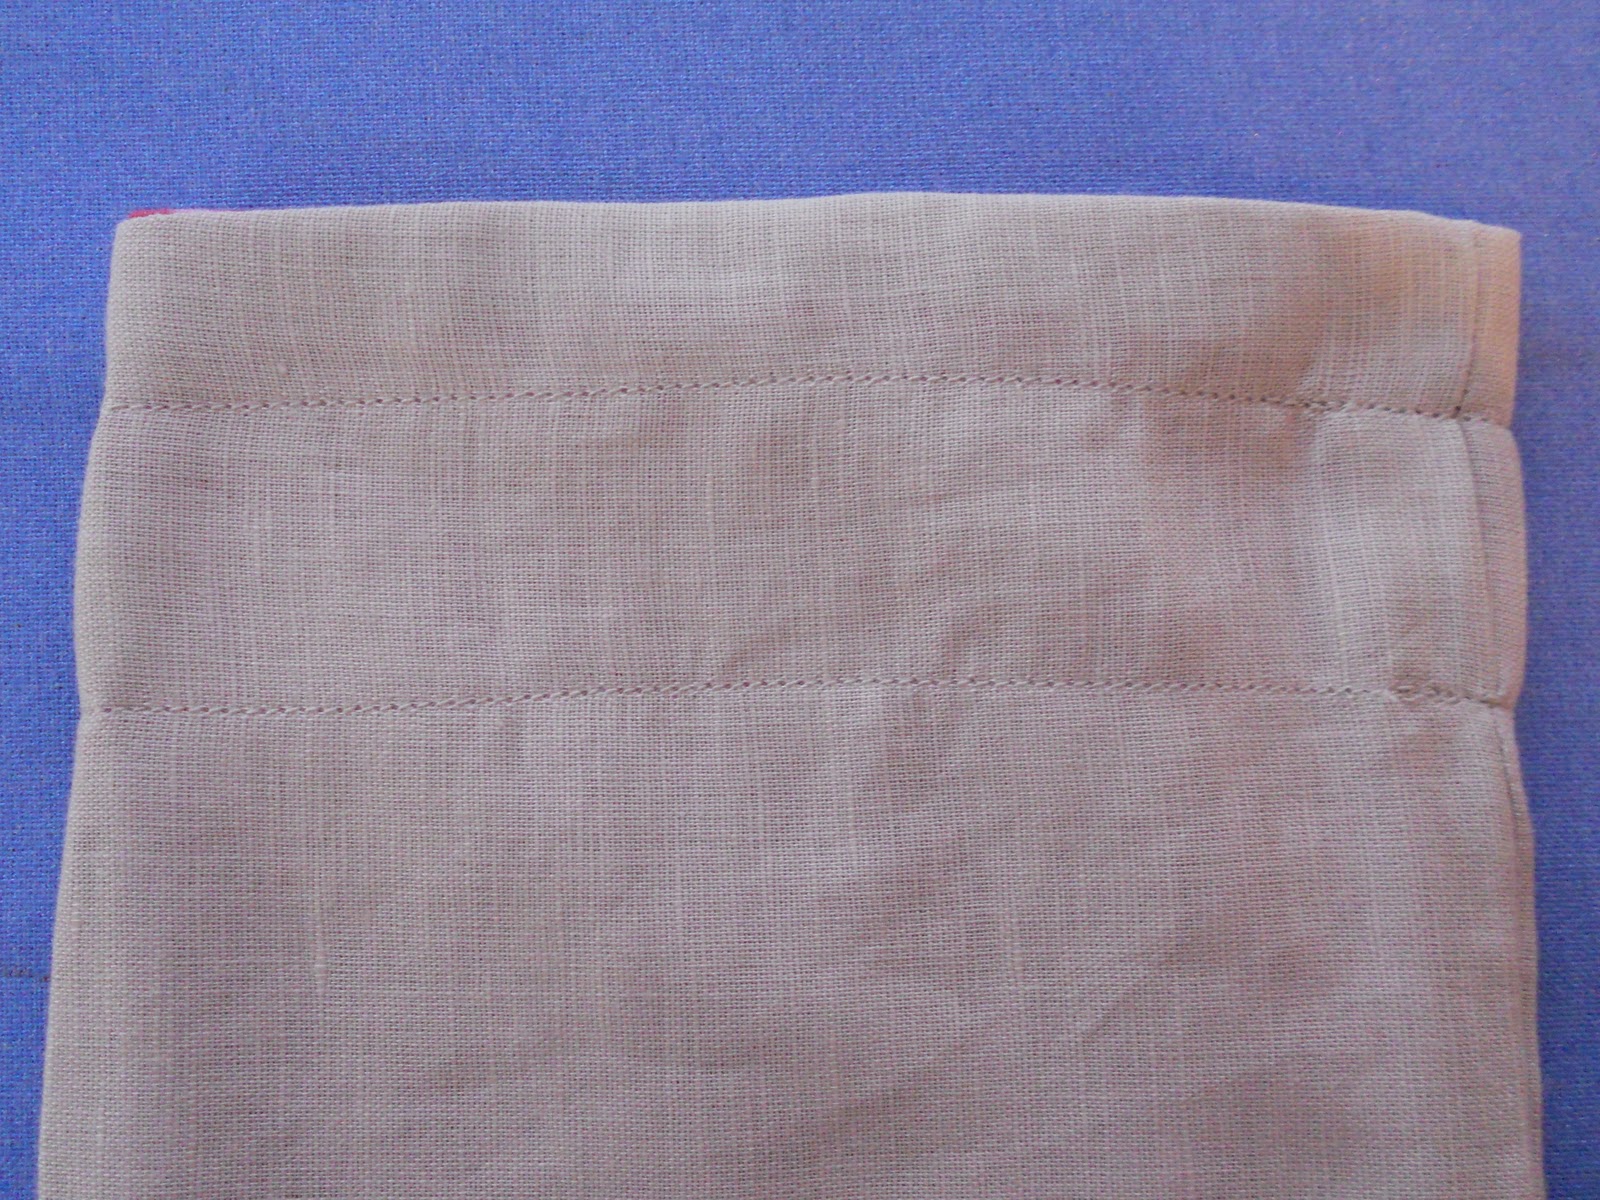
Pin just above and below the holes on each side so you have a gauge of where to sew. You're going to sew two parallel lines straight across the bag from pin to pin.
Sew a line around the entire bag, hitting just above the top pins. Sew a second line around the entire bag, hitting just below the bottom pins. Backstitch. Press.
Now for your ribbon. Attach a paper clip to one end of one of the ribbon pieces.
Push the ribbon into one of the side holes and wiggle it through the casing to the other side.
When you reach the other side, just push the paper clip right back in and continue wiggling it around the back of the bag until it comes out on the side you started on.
Ta da! You've got one done — you're almost there!
Repeat with the other piece of ribbon, except start on the opposite side of the bag (the left side in the picture above). When you get to the side where your first ribbon is sticking out, just go right on past it and return to the side where you started. If all of this is confusing, Dana's explanation in her tutorial might be clearer.
Tie the two pieces of ribbon on each side into a small knot and trim the ends of your ribbon. (I usually angle it.)
You're done! Put a bottle of wine in that baby and get ready to see the smile on your friend's face (or your own). Enjoy!


I've been looking for a tutorial for wine gift bags, and this one is great! I'm going to work on these today and I'll let you know how they turn out.
ReplyDeleteI would suggest squaring the bottom of the bag. Then it would be perfect!
ReplyDelete