

Thursday, January 6, 2011
My sewing guardian
When I was younger, I used to collect figurines. Until I was probably in high school, my mom would always get me a new Dreamsicle figurine for Christmas. I have all kinds, but my favorite's probably still a little green dragon one that is beyond cute. With only an exception or two, I haven't gotten another one in ten or so years, but this year, in light of my new passion for sewing, my mom found one she couldn't resist:
 I call her my sewing guardian. She sits on my fabric storage bookcase right behind my sewing machine (my sewing table's too small, and I knew she'd get knocked off for sure). I love her.

Wednesday, January 5, 2011
Some clutch clutches
Look for a few more posts in the coming weeks about the rest of my handmade Christmas gifts. These lovelies were some of the first gifts I made, all the way back in November. When I saw Noodlehead's Gathered Clutch tutorial featured on Sew, Mama, Sew's Handmade Holidays list, I knew I had to make them. And all the talk about these guys in the blogosphere has proven I wasn't the only one drawn in; these must have been one of the most popular tutorials of the holiday season.  They were super quick to put together, and I love the way they turned out. All of the fabrics were purchased at Joann's (sorry I don't remember what they were!). Note: this is a great fat quarter project, too! I chose not to do the optional card lining on these because I thought it would make them more multifunctional for the girlfriends who received them, but down the road, I make one for myself as a wallet. I love how many options there are for combining different colors and fabrics, and I can't wait to make more!


Saturday, January 1, 2011
Pretty new bag
I made this bag back in the Fall. You may remember this bag that I made for one of my mom's coworkers, and she liked it so much that she asked me to make another one in a different shape. She wanted something more like a slim tote, with a long, skinny handle, a simple pocket, and a snap to close it. So I created this:

I got the general measurements and basic techniques for the tote from a great book called Bend-the-Rules Sewing. Matt got it for me when I was just starting out, and it's really helpful for beginners. I also finally learned how to make a lined pocket (it's so simple and easy, it's ridiculous that I didn't do it before) and used it for the first time on this bag. It was also the first sew-in snap I'd done, and it turned out pretty good.

I wanted to add a bit more room and depth to the tote, so I boxed the corners, which I learned to do on this bag. (The pattern in the book doesn't do this.) Finally, I finished it off with a strap of my own creation. I took two lengths of double-fold bias tape and adhered them using a strip of Steam-A-Seam 2. Then, I stitched two lines down the length of it in contrasting thread to match the red of the bag fabric. It was plenty sturdy for anything she'd want to carry in the tote, but it was still thin and something different. I really liked the way it turned out. The fabrics were both from Joann's, but I'm sorry to say I can't remember what they were.

She liked the bag so much that she asked me to make another just like it. This one will be green on the lining and black and white outside. I'm sure you'll see it soon.
Happy New Year!
We rang in the new year by enjoying a fabulous five-course meal with friends at Fond. What a great way to start the year!


Friday, December 31, 2010
Lined drawstring wine bag TUTORIAL

In my build-up to Christmas, I mentioned I was planning a tutorial for one of the gifts I was making, and now is the time to deliver. I made these wine bags for some friends of mine and loved the way they turned out:

I had a lot of trouble finding a tutorial online for these that I really liked, so I thought I'd make one myself. I took bits and pieces from several online tutorials (I am most indebted to Dana's hobo sack tutorial over on MADE (it's how I figured out how to do the drawstring at the top) and the wine bag tutorial from Gator Gracie) and ideas from a wine bag I already owned, from which I took the measurements and the idea to move the ribbon casing a few inches down instead of having it along the top seam, as most of the tutorials I found do, and as I did for my drawstring gifts bags. Since this is my first tutorial, I'm sure I missed some things along the way — I'd really appreciate any comments with suggestions or feedback.
Want to make one of your own? Then, let's get to it.

What you'll need:
- Linen (cut 4): 5.5” x 7”
- Fabric for the middle part of the outside bag (I suggest quilter's cotton.) (cut 2): 5.5” x 7”
- Letter (cut 1 from lining fabric): I used the alphabet letters found here and blew them up 200% on my copier. Feel free to use whatever fonts/sizes you want.
- Lining fabric (cut 2): 14.5” x 7”
- Ribbon (cut 2): 1/2” x 22” (Be sure to pick a sturdy fabric ribbon, as this is how'll you'll carry the wine.)
- Matching thread (I used a light one so it would blend into the linen when I made the casing, but you could use a coordinating color if you wanted it to stand out. Sorry the light color doesn't show up very well in some of the photos.)
- Pressing cloth and fusible webbing for applique.
- All seam allowances are 1/2”.


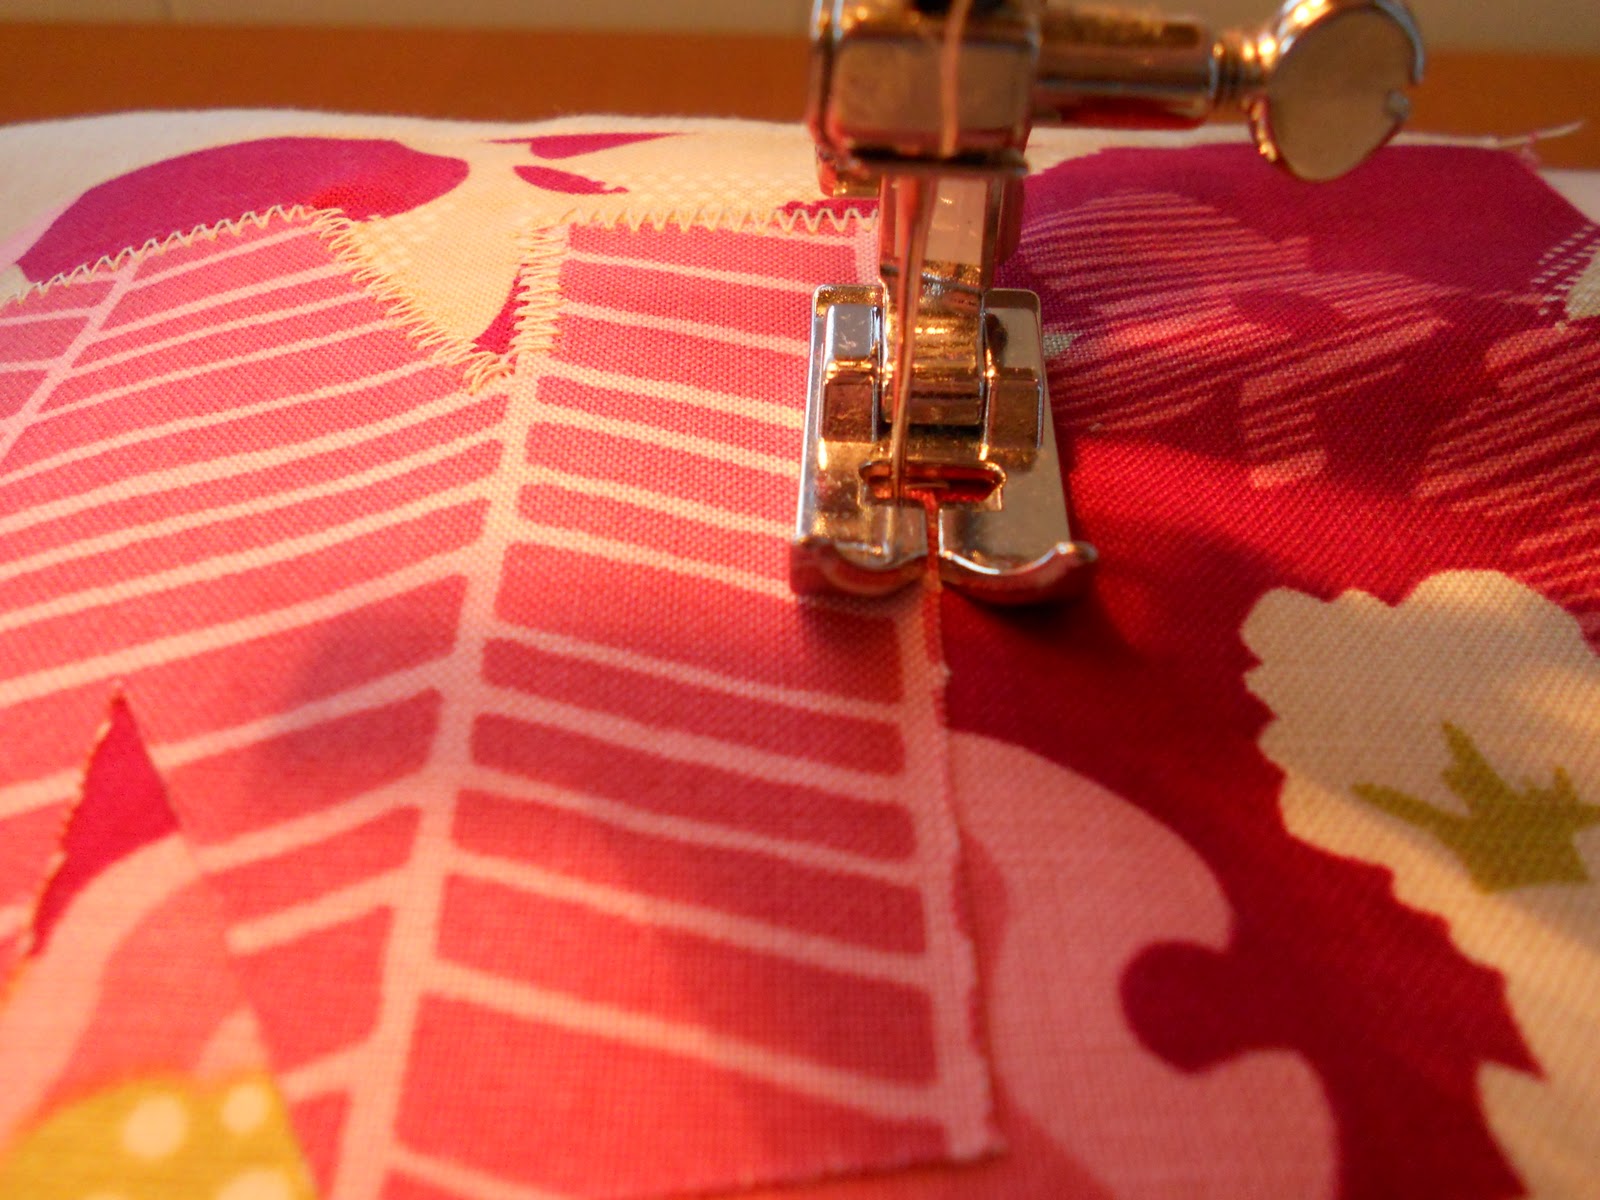

Measure down 1.5” from the top side (the left side in the picture above) and pin. This is where the top line of your casing will be later. Measure down another inch from that pin and pin again. This will be the bottom line of your casing. Repeat on the other side.


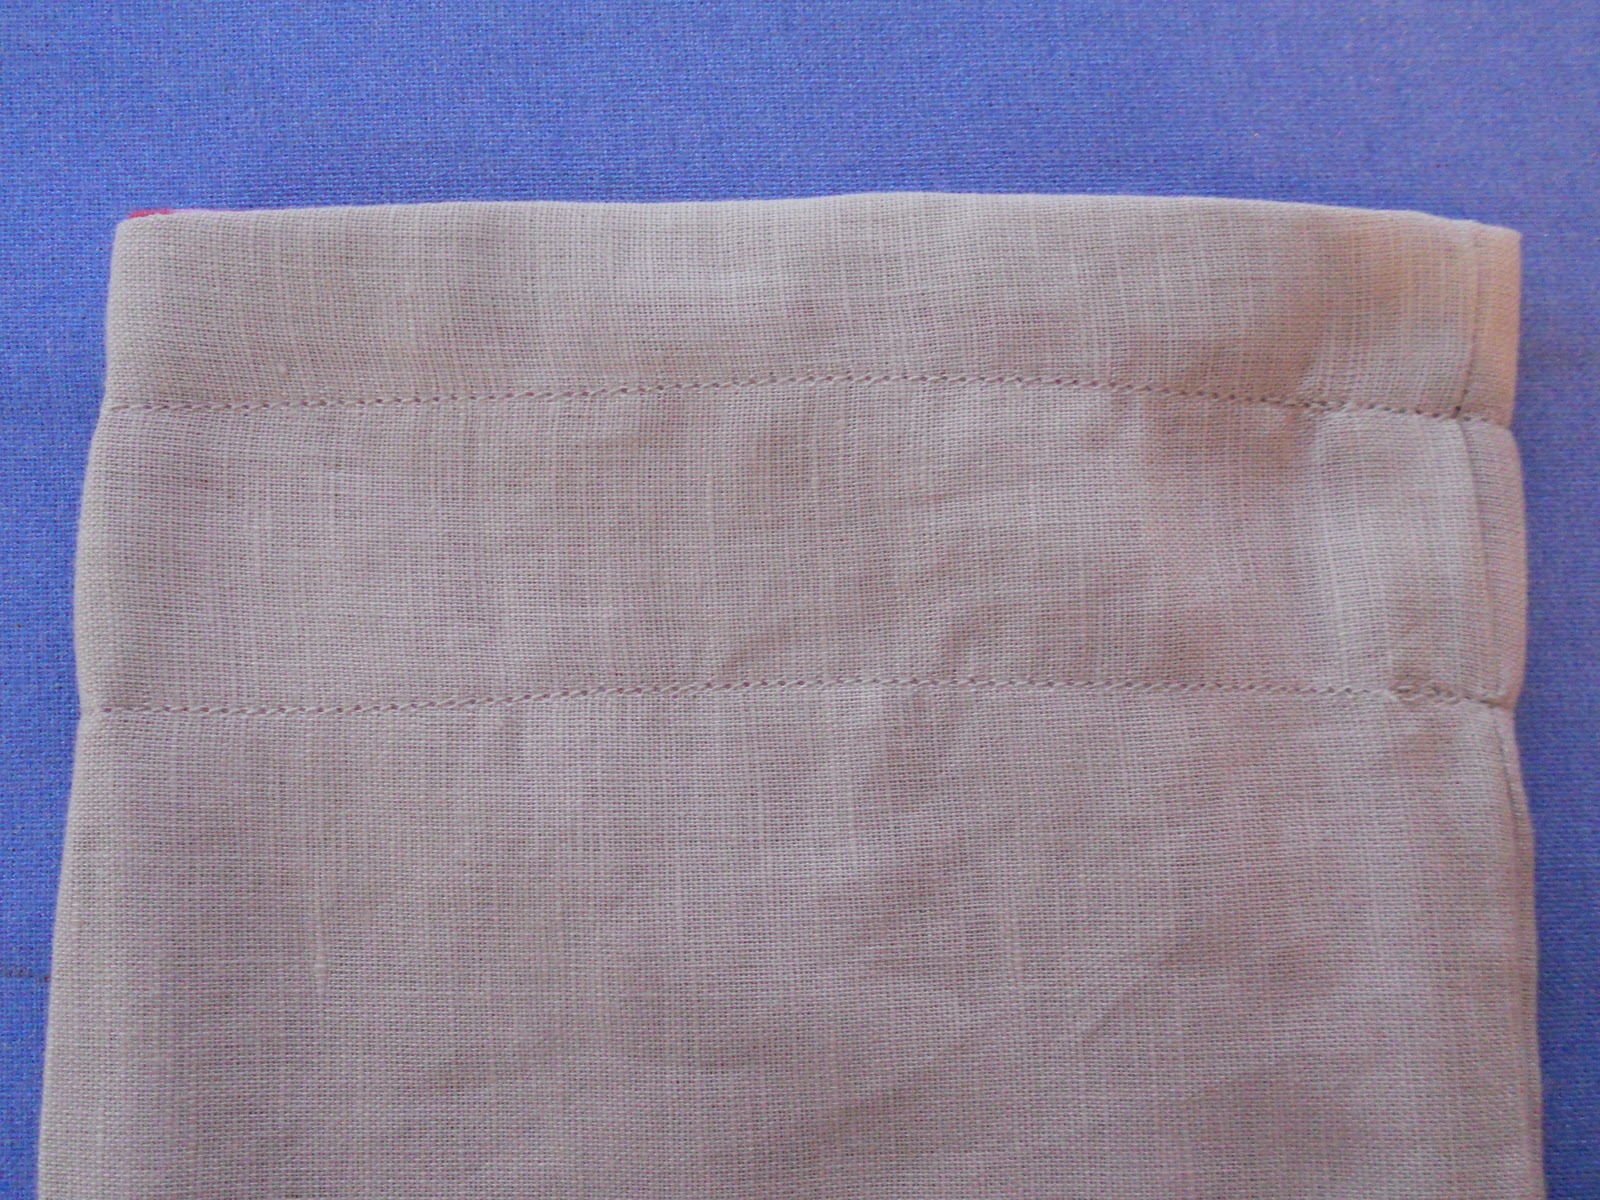


Tie the two pieces of ribbon on each side into a small knot and trim the ends of your ribbon. (I usually angle it.)


Wednesday, December 29, 2010
World, meet Hooty
Remember this post a few weeks ago about the wonderful Hooty pattern I bought from Melly & Me? Well, he's ready to make his big debut: World, meet Hooty!


Hooty, shake your tail feather!
Tuesday, December 28, 2010
A new challenge for a new year
Speaking of bags, I’m so excited about the new challenge I just found over on Jem Jam. She’s hosting a Style Stitches 12-Month Challenge. Amy Butler’s new book, Style Stitches, has 12 chapters of amazing bag designs, so the idea is that we’ll work our way through the book over the course of a year, one bag each month. Since I just got the book for Christmas, I figure it’s the perfect way to dive right in. Check out the challenge yourself, or keep an eye out here for my first bag in January. Oh, and check out the book, too — it’s awesome.

It's in the bag
Last year, before I knew how to sew or owned a sewing machine, I decided I was going to wrap my Christmas gifts in fabric. I used different fabric wrapping techniques I found online, and it worked well enough. I was happy to save the wrapping paper, and it was something fun and different.
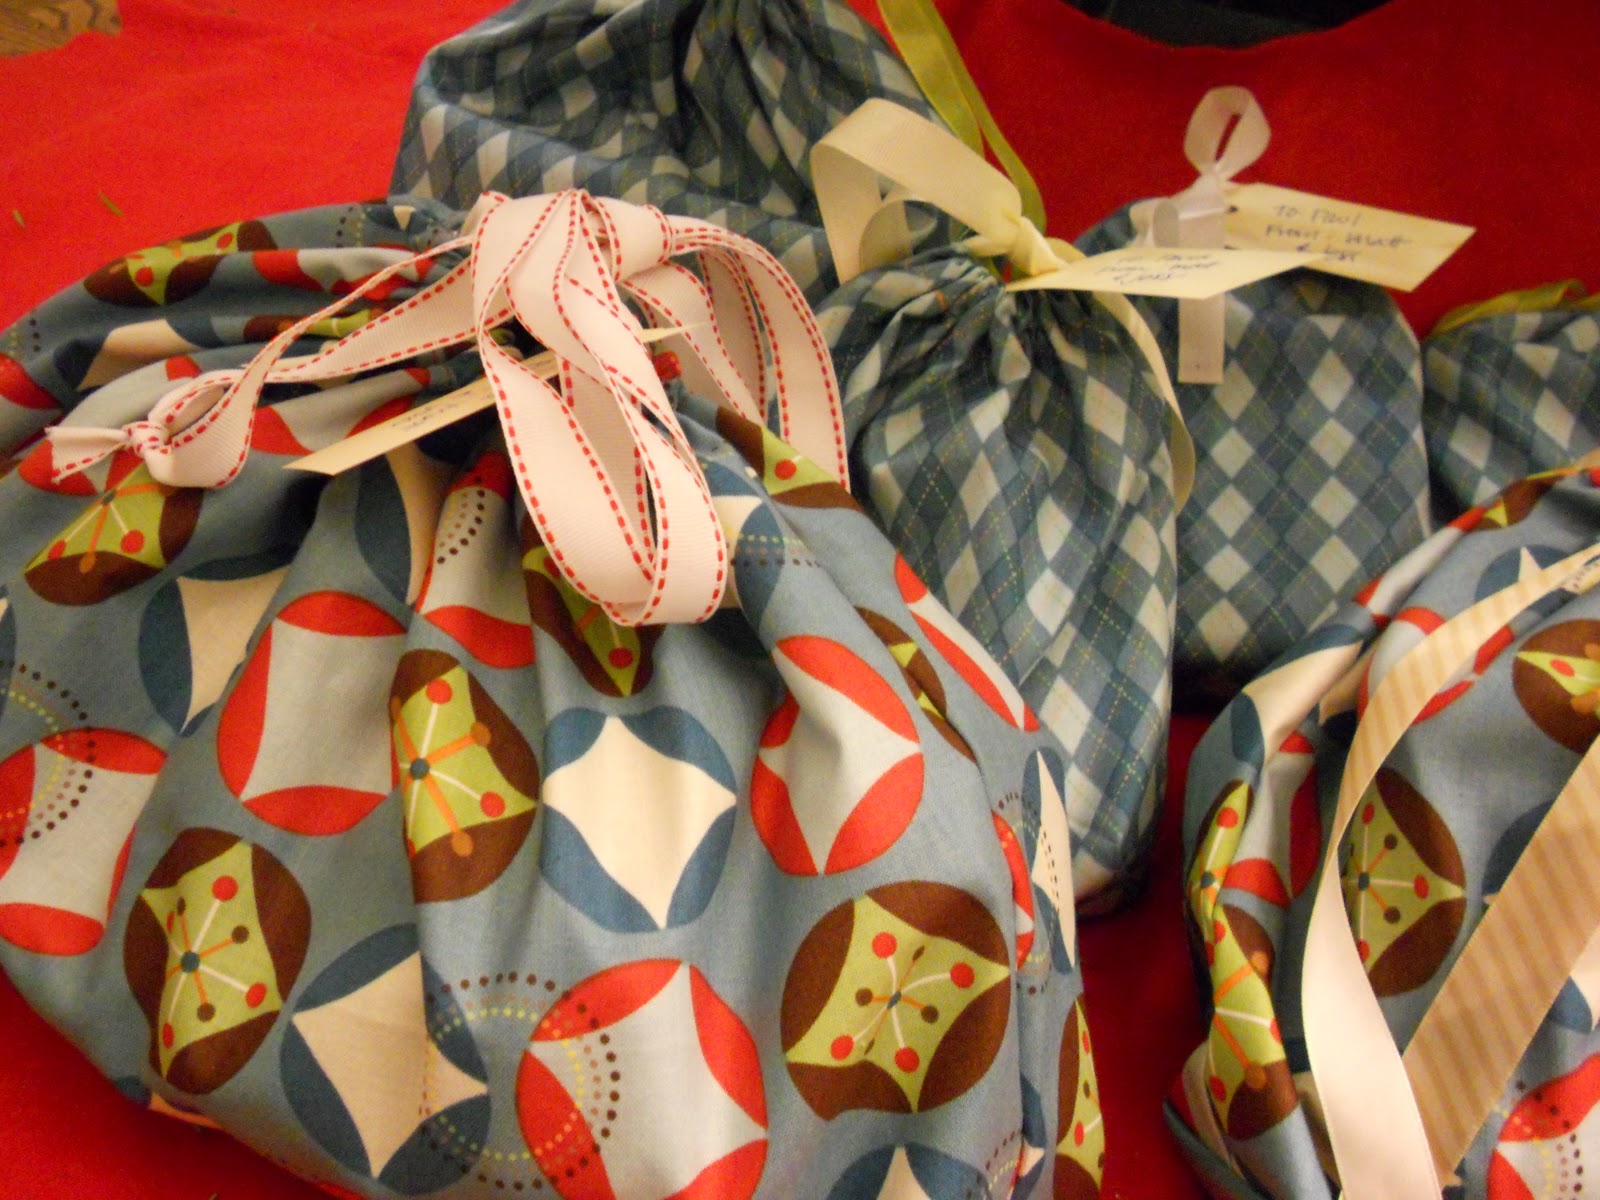
But this year, I own a sewing machine, and I know how to sew, so just tying some fabric around my gifts wasn’t going to do. For all of the gifts I gave in person, I made little drawstring bags:

I used the simple drawstring bag tutorial from Happy Things, and it was SO easy. I found that with the darker fabric, I didn’t need to line the bag to avoid it being see-through, and I figured it was better not to waste time and money lining it if it wasn’t needed. (If you’re interested, Happy Things has several tutorials for various lined drawstring bags, too: here, here, and here). Matt even cut most of the fabric for me (these were completed in the final crazy days before we left for Texas, and I was happy to accept all the help I could get), and he did a great job.

Subscribe to:
Posts (Atom)